Sunday 25 November 2012

Object Drawing

Amanda Zima
Amanda Zima is a wonderful artist whos object drawings are very unique. She keeps the objects simple and draws it twice but on the second time, she draws the objects as if they've been smashed to pieces. This inspired me to put a twist on my object drawings and lead me to the retro, antique theme.


Drawing an object of our choice gives us a huge variety to work with. I decided I wanted to go with a household object from the past. I'm extremely interested in steampunk and vintage objects so I decided I wanted to create an early 20th century telephone.
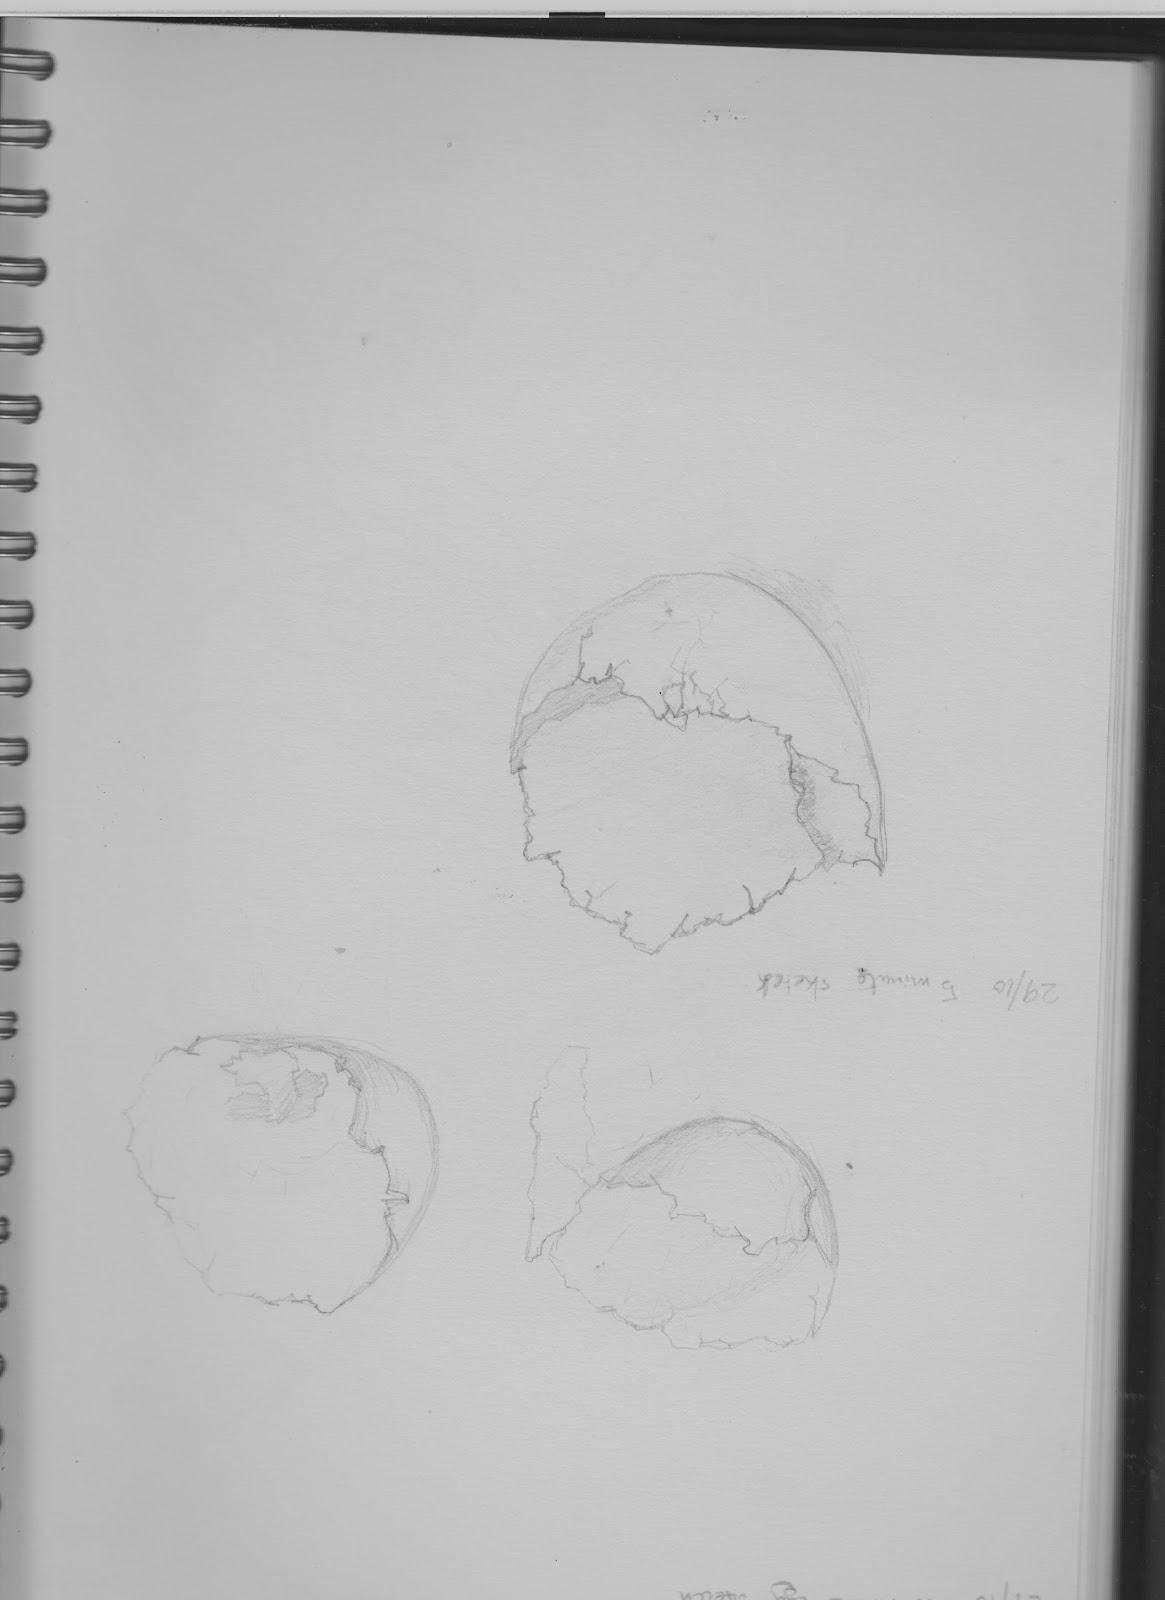
As per usually, I create 6 small sketches inspired by many different images.


This gave me the visuals I needed to create the first sketch.


I drew the concept on paper and scanned it in and used Photoshop to paint. I used the same shading technique as I would with paper and stacked layers of shade to create the depth and shadows.

The final object had a lot of inspiration from the objects used from Amanda's piece (Above). I want to create a simple, retro styled image. From the inspired piece, I've changed quite a bit. Amanda used a fine line technique where I used shading and lighting to create the shape of my image. Highlights, mid ton and reflective light were used to create the image and Im really pleased with the outcome.


This was a personal project. i wanted to create an image like Amanda's but already cracked/ruined. I wanted to create an egg as I could really use my lighting techniques to create a realistic and 3D effect.


Friday 23 November 2012

Collage


 We were given the task to create a collage of images to create different appearances. 
This is a great exercises to learn about using others ideas and parts to create your own unique version.


Perspective

We were refreshed on the basics of perspective and this really opened my eyes to creating depth within a still image. Its a vital technique and mastering it takes a lot of practice. Although I had already learnt the basics, this exercises was still a learning experience.
We created a park bench scene and used perspective lines (created in Photoshop) to portray the depth.

The techniques learnt are shown throughout my sketch book in several projects.
I used a 2 point perspective technique to achieve the look.


These sketches were for a personal project of mine. I used my perspective skills to create the basic structure of an American city street meat stand. These sketches were then used for reference images for a 3D model. the 3D model is now in my online portfolio.
As these were basic, quick sketches, I centred my vanishing point to the middle of the page and used simple shading to create a basic 3 dimensional effect. (Nothing fancy)

 Final 3D models


Friday 9 November 2012

Character Concept Art

Inspirational Artist

By chance, I came across Lorin Wood's portfolio whilst looking into mechanical scenes and characters. Lorin Wood is a unique, talented character and environment artist who has worked on such games as Boarderlands 1 & 2 and Aliens: Colonial Marines. He uses a lot of geometric shapes and straight lines to create his mechas and has published many of them around the web. (nuthinbutmech.blogspot.co.uk)


This piece in particular is one of my favourite. 

Before any large scale sketches can begin, I usually create 6 small, rough sketches of inspiring pieces.
This gets my own inspiration on paper and allows me to pick certain features from a piece and customise it in my own way.

Concept Work

After these sketches I had a clear idea to what my character was going to look like and with that confidence  I began a large scale sketch.


I then scanned in the sketch and opened it on PhotoShop. Using different technique, I created my final character concept.
(Without colour)

I used other mechs for colour inspiration and to help create the shades. I really wanted to create realistic shading to portray the 3D character.

(With colour)
Once I finished the character I didn't feel it was complete. I needed to create a background to give a story and so I went for a apocalyptic world.


Im extremely pleased with the final outcome of my character. The inspiration was a huge help for creating the basic structure and features.
The colours were inspired by copper and rusted mechanical objects to create a rustic effect and to show the emphases the age of the robot.
The inspired piece had the structure but there wasn't anything else going on. I wanted my image to have more features and involvement from the environment to create a story.
From learning about lighting a scene in previous lessons, I added highlights, mid tons and core shadows to create portray the lighting and to create the shininess of the material.